When it comes to seasonal decorations, nothing says fall like a rustic pallet pumpkin. This easy-to-make craft is a perfect way to add a touch of rustic charm to any home. With just a few simple supplies, you can create a unique and beautiful piece of decor that will last for years to come.
To begin, you’ll need a pallet, some wood glue, a saw, and some paint. Start by cutting the pallet into four pieces. You can use a saw or a jigsaw to do this. Once you have your pieces, it’s time to assemble them. Use wood glue to attach the pieces together, making sure to leave a gap between them so that you can paint the pumpkin shape.
Once the glue is dry, it’s time to paint. Choose a color that will compliment your home’s decor. You can go with a classic orange or a more modern shade. Once the paint is dry, you can use a stencil to create the pumpkin shape. You can also use a jigsaw to cut out the shape if you prefer.
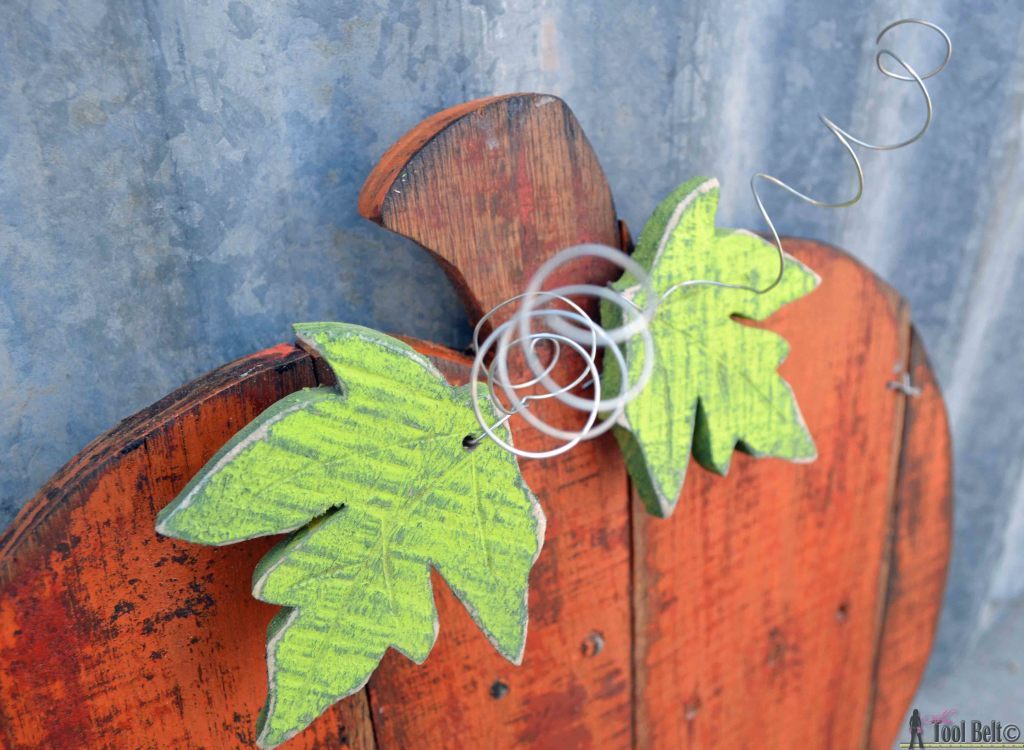
Once your pumpkin is complete, you can decorate it with a few other items. Use twine to create a stem and leaves. You can also add a few artificial pumpkins or gourds to complete the look.
When you’re done, you’ll have a beautiful rustic pallet pumpkin that will bring a touch of fall to your home. It’s an easy and inexpensive way to add a little seasonal charm to any room. Whether you display it on your front porch or inside your home, your rustic pallet pumpkin will be sure to bring a smile to your face.